

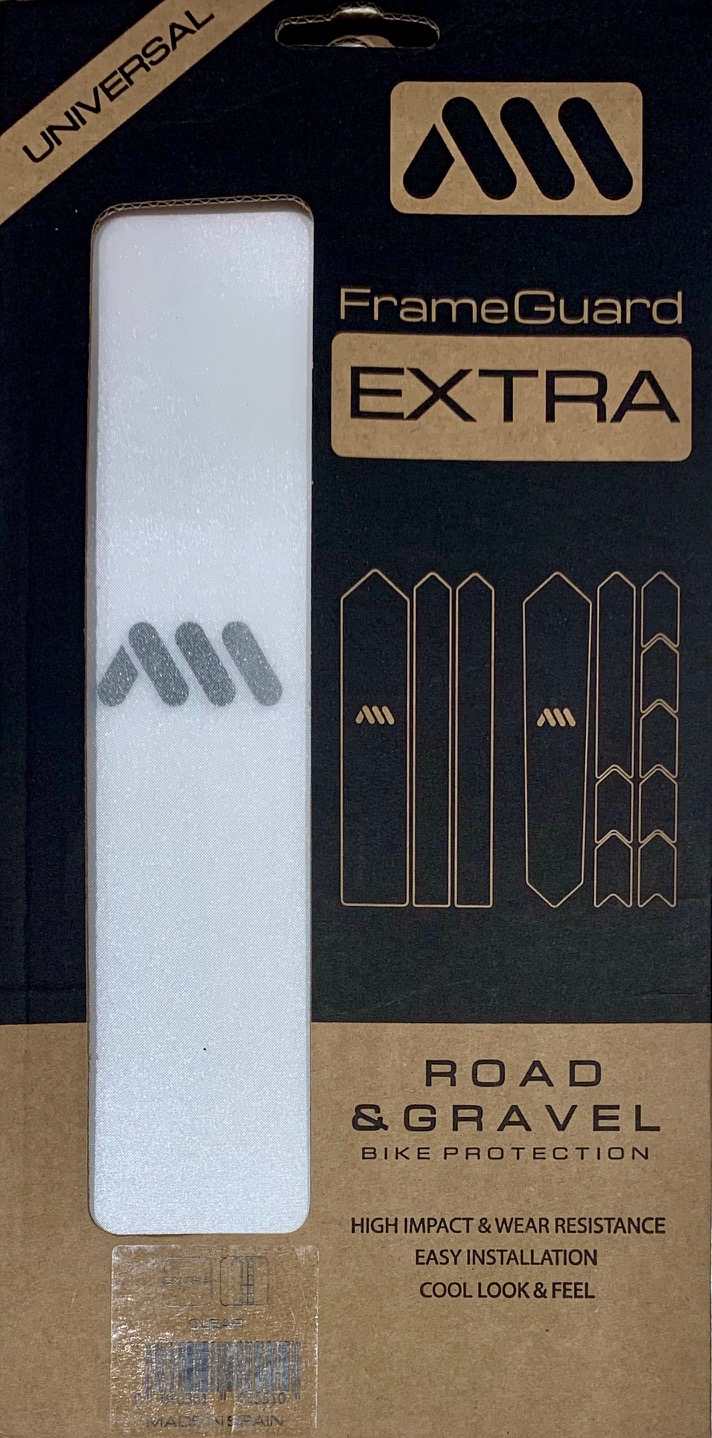
 AMS (All Mountain Style) Universal Frame Guard – Extra is manufactured in Spain and includes 12 pieces in various sizes, ranging from 27x5cm down to 6x3cm. Unless you are planning to fully armor up your ride, this is probably enough for two bicycles. I received the ‘clear’ version which features a matte finish with a very slight texture akin to a shower curtain that is just one small step away from completely gloss transparent.
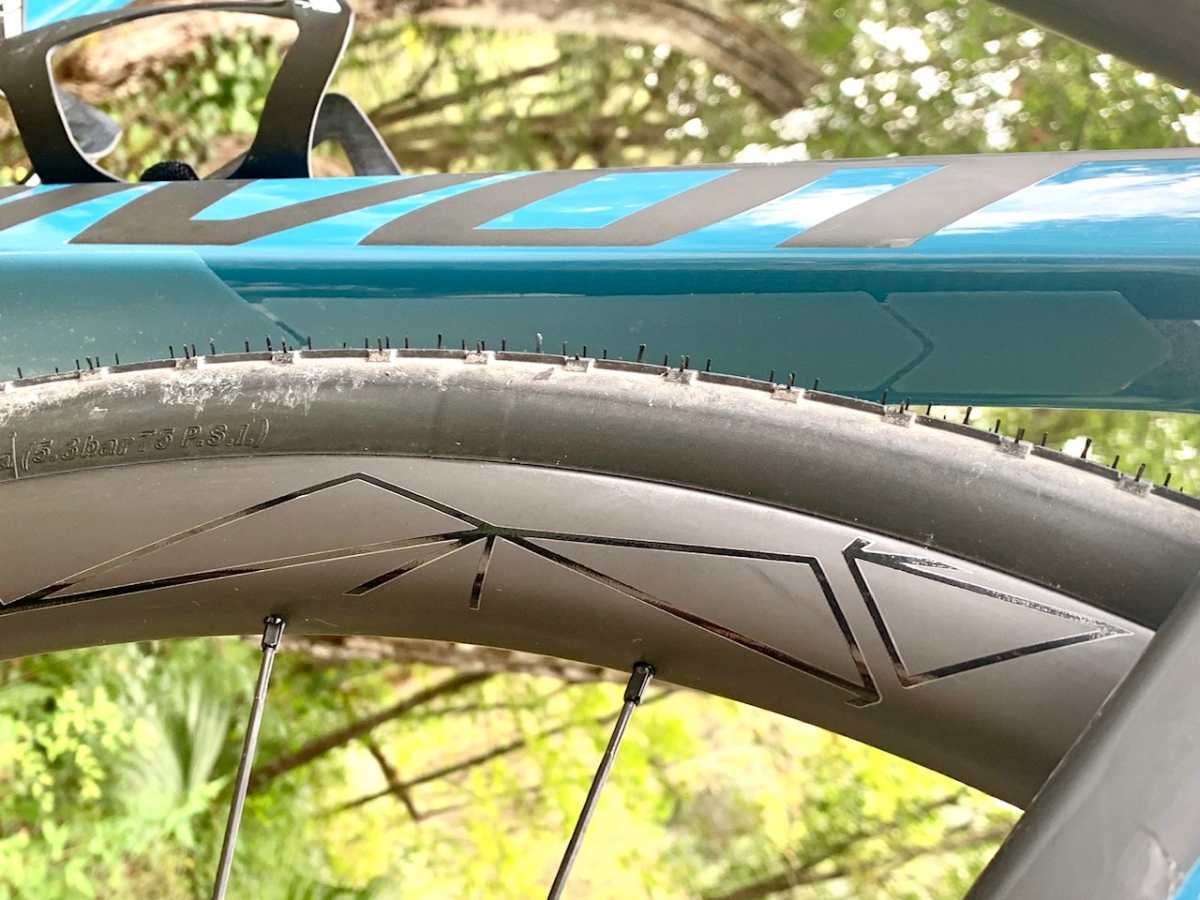
The material, although flexible, feels quite tough and would seem difficult to tear or scratch through with normal gravel/pebble/debris strikes. Let’s be clear, however, this kit is not going to save an MTB frame from damage by that ridiculously ambitious line you took through any number of rock gardens at Pisgah, etc.
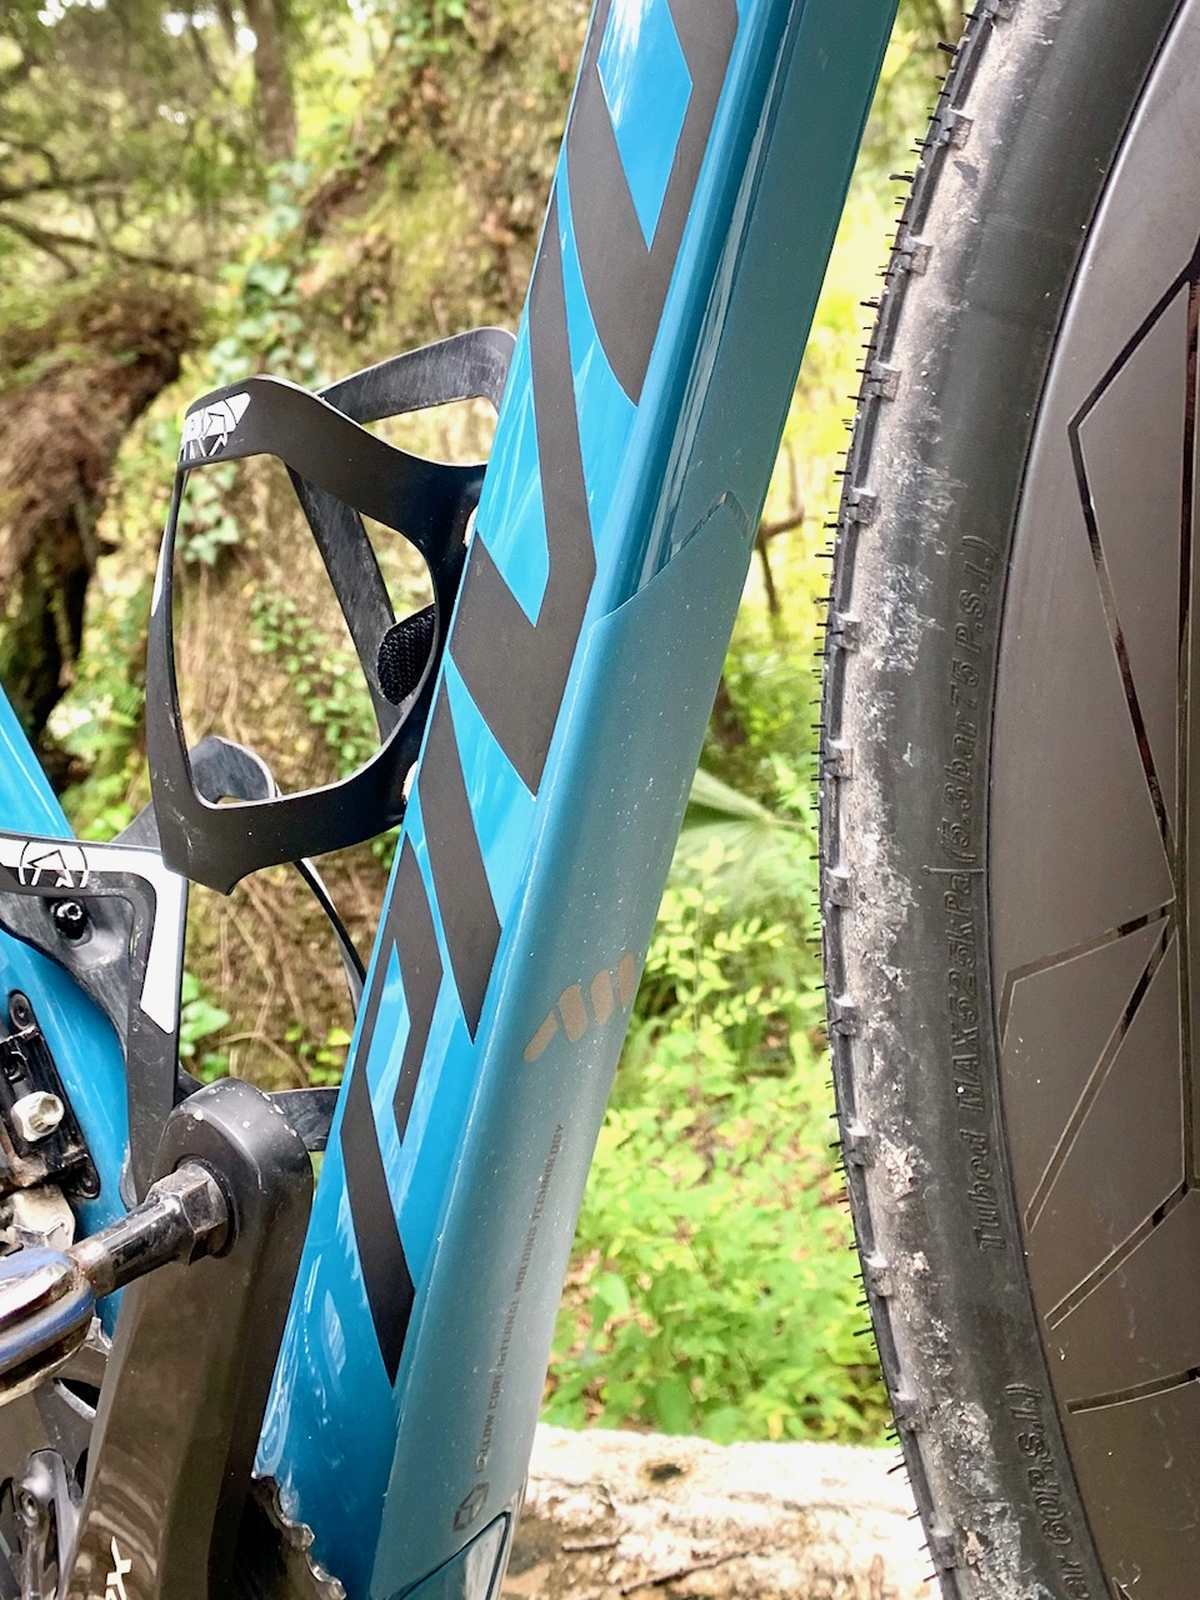
Installation should start with a relatively clean bike and application areas should be cleaned even more with a soft cloth and rubbing alcohol to ensure there are no contaminants. For this installation on a Pivot Vault, I was aiming for two areas: the downtube underside and a small spot on top of the downtube. The underside is a most obvious choice to protect. The top side spot however was needed as the small frame size resulted in the seat tube mounted cage allowing bottles to just barely contact the facing downtube. This already caused some minor paint damage so I wanted to nip it early. I decided against any install on the chainstay due to the fairly irregular shape of the carbon there (and it already had a robust sleeve protector).
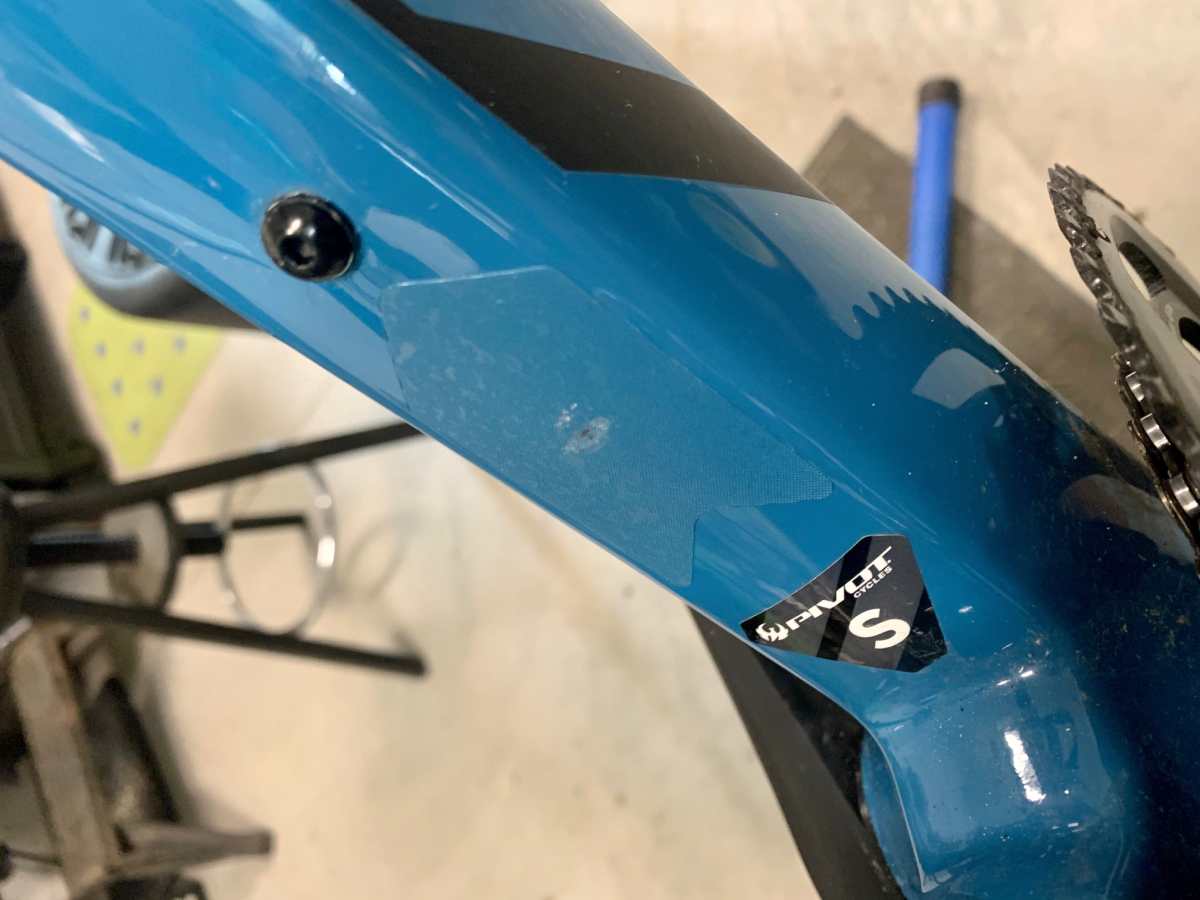
I started my install with the spot on upside of the tube tube as this required only a small 6 x 3cm piece and would be a trial run. I probably could have proceeded here without removing the bottle cages but my brain runs very symmetrically (and perhaps more than a bit OCD) so I removed the cages to allow better access for precise placement. With positioning made easy, I pressed the along the centerline of the piece and then worked outwards from top to bottom. Just pressing with your finger will produce strong adhesion but this may leave a mottled appearance due to small areas not fully bonded with the frame. Go back and work the same way with something harder and flatter than your fingertip and which will not mar your frame. This could be anything from the face of your fingernail (it worked for me!) to the smooth part of a toothbrush handle, etc. I was concerned at first but once a firm instrument is applied these spots can be easily worked out for a uniform appearance.

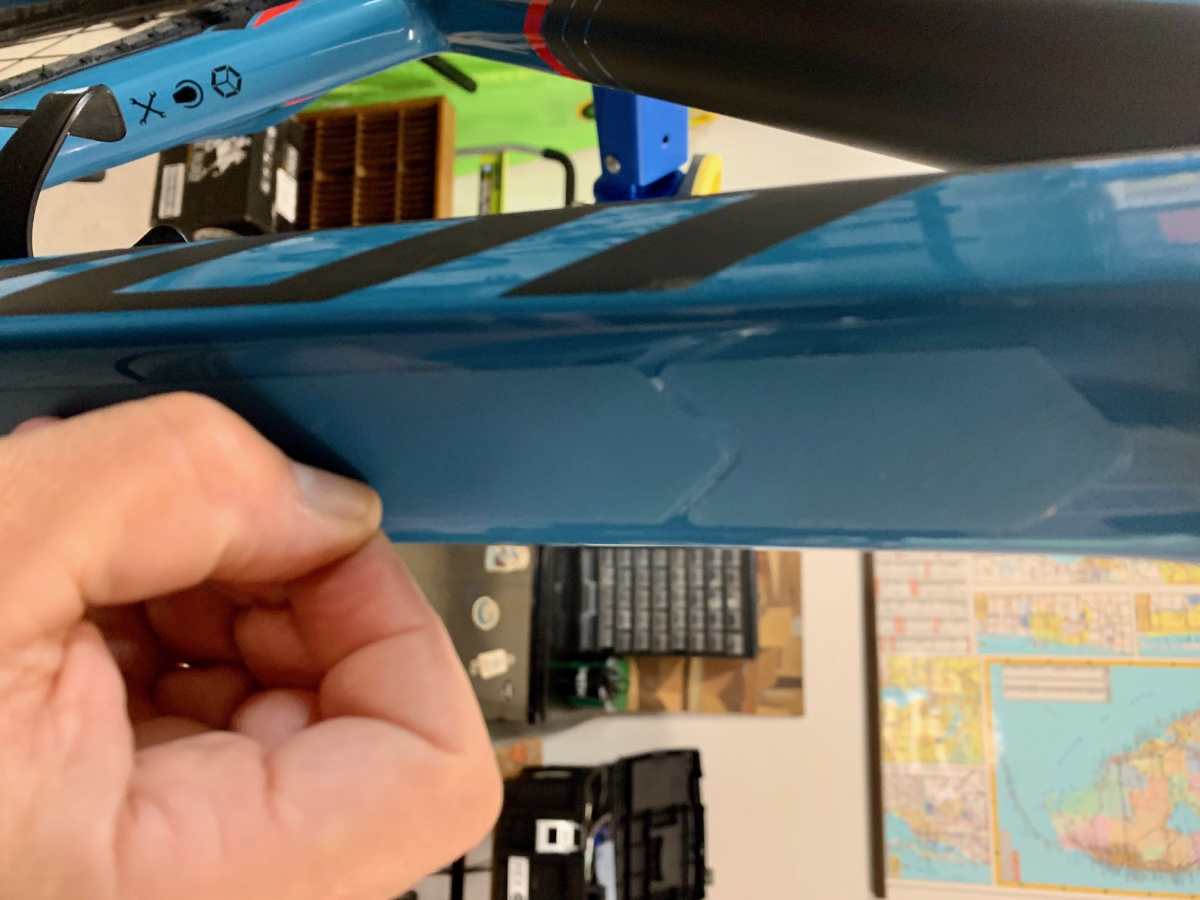
For downtube underside installation, If you have an adjustable work stand that allows the bike to be positioned so that the downtube is approaching vertical, remove the front wheel and position the bike thusly. If not, I’d recommend the sacrilege of placing your machine upside down on the floor with the front wheel removed. Every frame is different so you’ll need to play around with different size options in the kit to protect the areas you wish. For my downtube, I started with one of the 27 x 5cm pieces and hoped to use the second of that size to basically cover the entire underside from junction box cover (adjacent to the bottom bracket joint) all the way to near the head tube joint. It was here that one limitation of this kit revealed itself: the two largest pieces that are most suitable for applying to modern oversized downtubes do not really play nice with each other. While both feature the triangular/chevron end that runs across all the pieces, there is no way to cleanly abut these two pieces together unless one engages in some home trimming.

So I elected to go with one large piece starting from junction cover and running upwards – this would cover the rather squarish Vault downtube completely from side to side to about halfway up towards the head tube, i.e. the area most likely to take impacts. Working upward from there, I installed one medium 15 x 3cm piece along the centerline of the downtube finishing with another of the 6 x 3cm pieces to get me within a few cm of the head tube joint. Job done!
In sum, this packet offers a lot of flexibility for installs on various frames and for different needs. The biggest shortcoming is that the two largest pieces do not fully interface – without trimming – if you wish to cover a full modern diameter downtube (keep in mind this frame was a size small). Most adhesive protectors that attempt a universal design will also probably have difficulties with the broad variations in modern chainstay shapes so this is not an issue unique to AMS.
But if you have a relatively conventional frame design or retro Road/MTB rig, there are pieces included that will work great as chainstay protectors without modification. In a pinch, the six 6 x 3cm pieces included here could probably work in series on even the most unorthodox chainstays. But more likely, these small pieces would be useful for protecting against housing rub or anywhere that a frame/bar bag attachment might contact your paint.
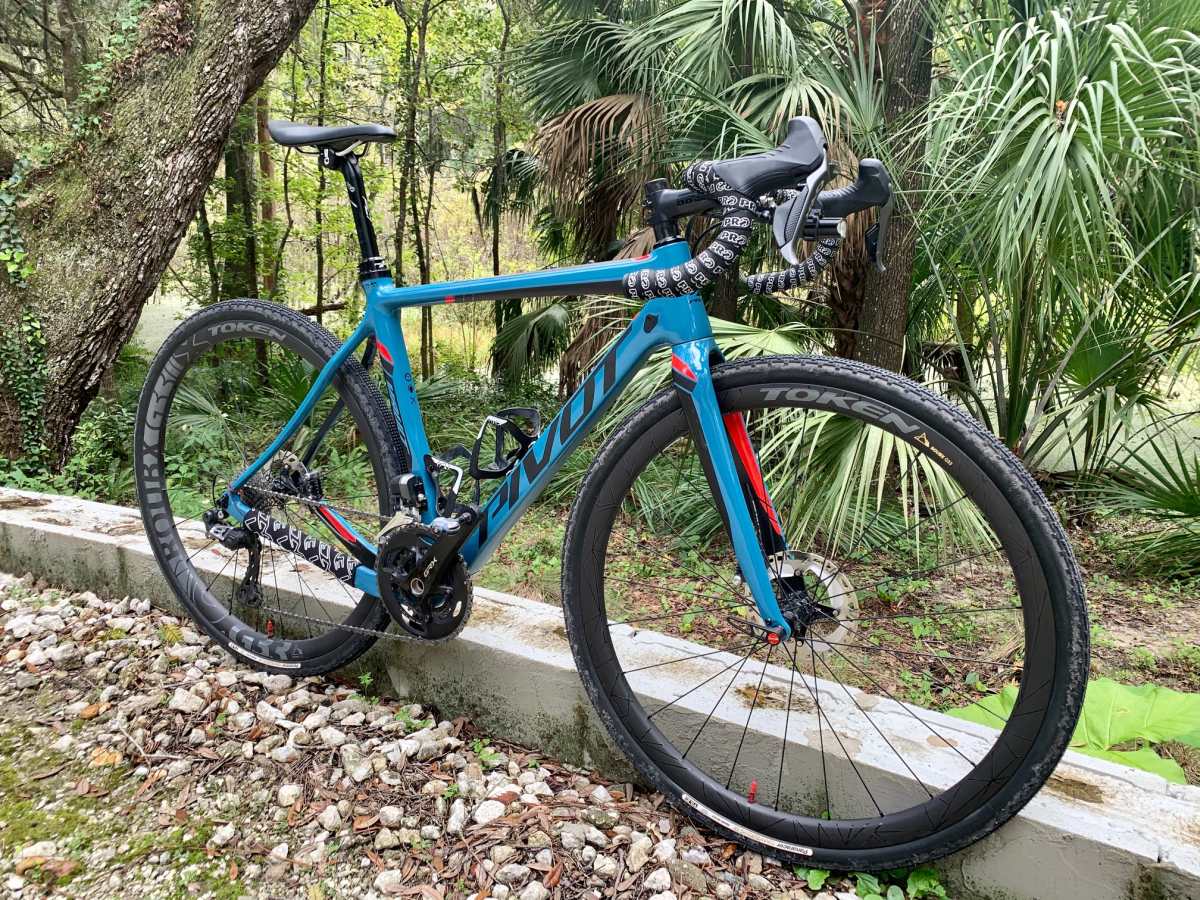
After install, the protectors become nearly invisible – I cannot detect them at all from two meters (if you have a very high gloss or metallic paint then the matte finish may give you slightly different results). But these are far less visible on the Vault than the factory-installed clear film on my Niner Air RDO.
Durability and long-term wear remain untested but AMS uses automobile-grade adhesive so I’m optimistic about this set staying in place. If you need to alter or replace these, AMS recommends warming with a hairdryer prior to attempting removal. I have enough leftover pieces from this kit that I’m already looking around the garage for another project.
Click to Purchase on Amazon (Supports Gravel Cyclist at NO Charge to you)